Island المطابخs in Open-Plan Residences: Structural and التصميم Considerations
 \n\n
\n\n
The kitchen island has become the structural and social centre of open-plan residential design, but integrating one correctly requires more than choosing a countertop material and picking a cabinet finish. An island kitchen in an open-plan residence demands coordination between the architect, the kitchen manufacturer, the plumber, the electrician, and the HVAC engineer — and the decisions made at the planning stage will determine whether the island functions as intended for decades or becomes a source of persistent problems. At Modenese Bespoke, island configurations account for the majority of kitchen projects, and the technical considerations below reflect what we address during every design consultation.
Workflow Triangles and Island Placement Geometry
The work triangle concept — the spatial relationship between sink, cooktop, and refrigerator — remains the most reliable framework for kitchen layout, even as open-plan living has made kitchen spaces larger and more complex. When an island is introduced, the triangle typically shifts from a wall-bound configuration to one where one or two points of the triangle sit on the island itself.
The optimal distance between any two points of the work triangle falls between 1,200 mm and 2,700 mm, with a total triangle perimeter of 4,000-7,900 mm. An island placed too far from the wall run creates dead space and excessive walking; too close (under 900 mm clearance on any side) restricts movement, prevents cabinet doors and dishwasher doors from opening fully, and violates accessibility standards in most European building codes.
For a single-cook kitchen, the ideal aisle width between island and wall cabinetry is 1,000-1,200 mm. For a kitchen where two people regularly cook simultaneously, 1,200-1,500 mm is the working minimum. These dimensions must be measured from the front face of the cabinet (not the countertop edge, which typically overhangs 30-50 mm) to the opposing cabinet face or appliance front.
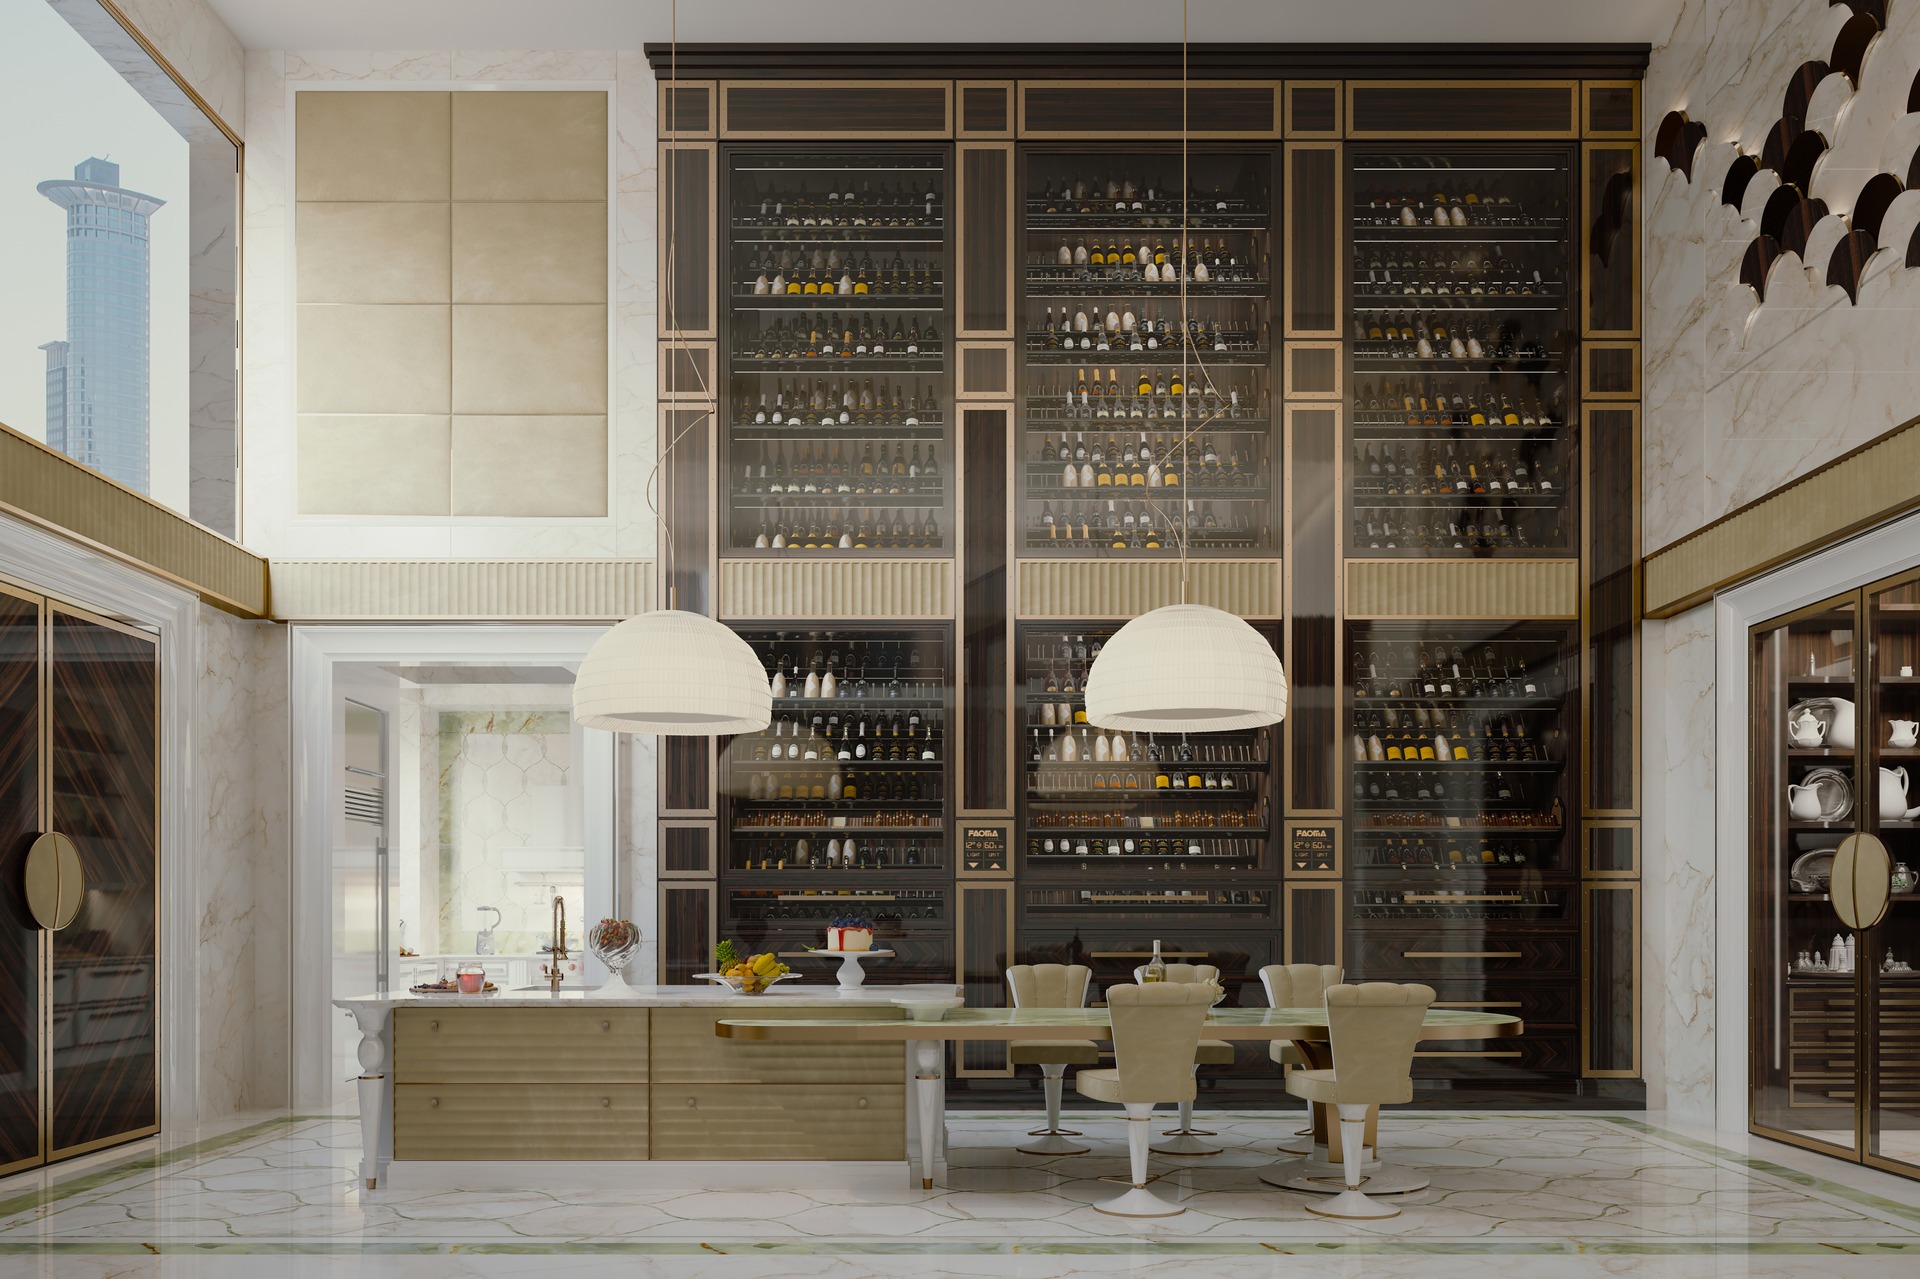
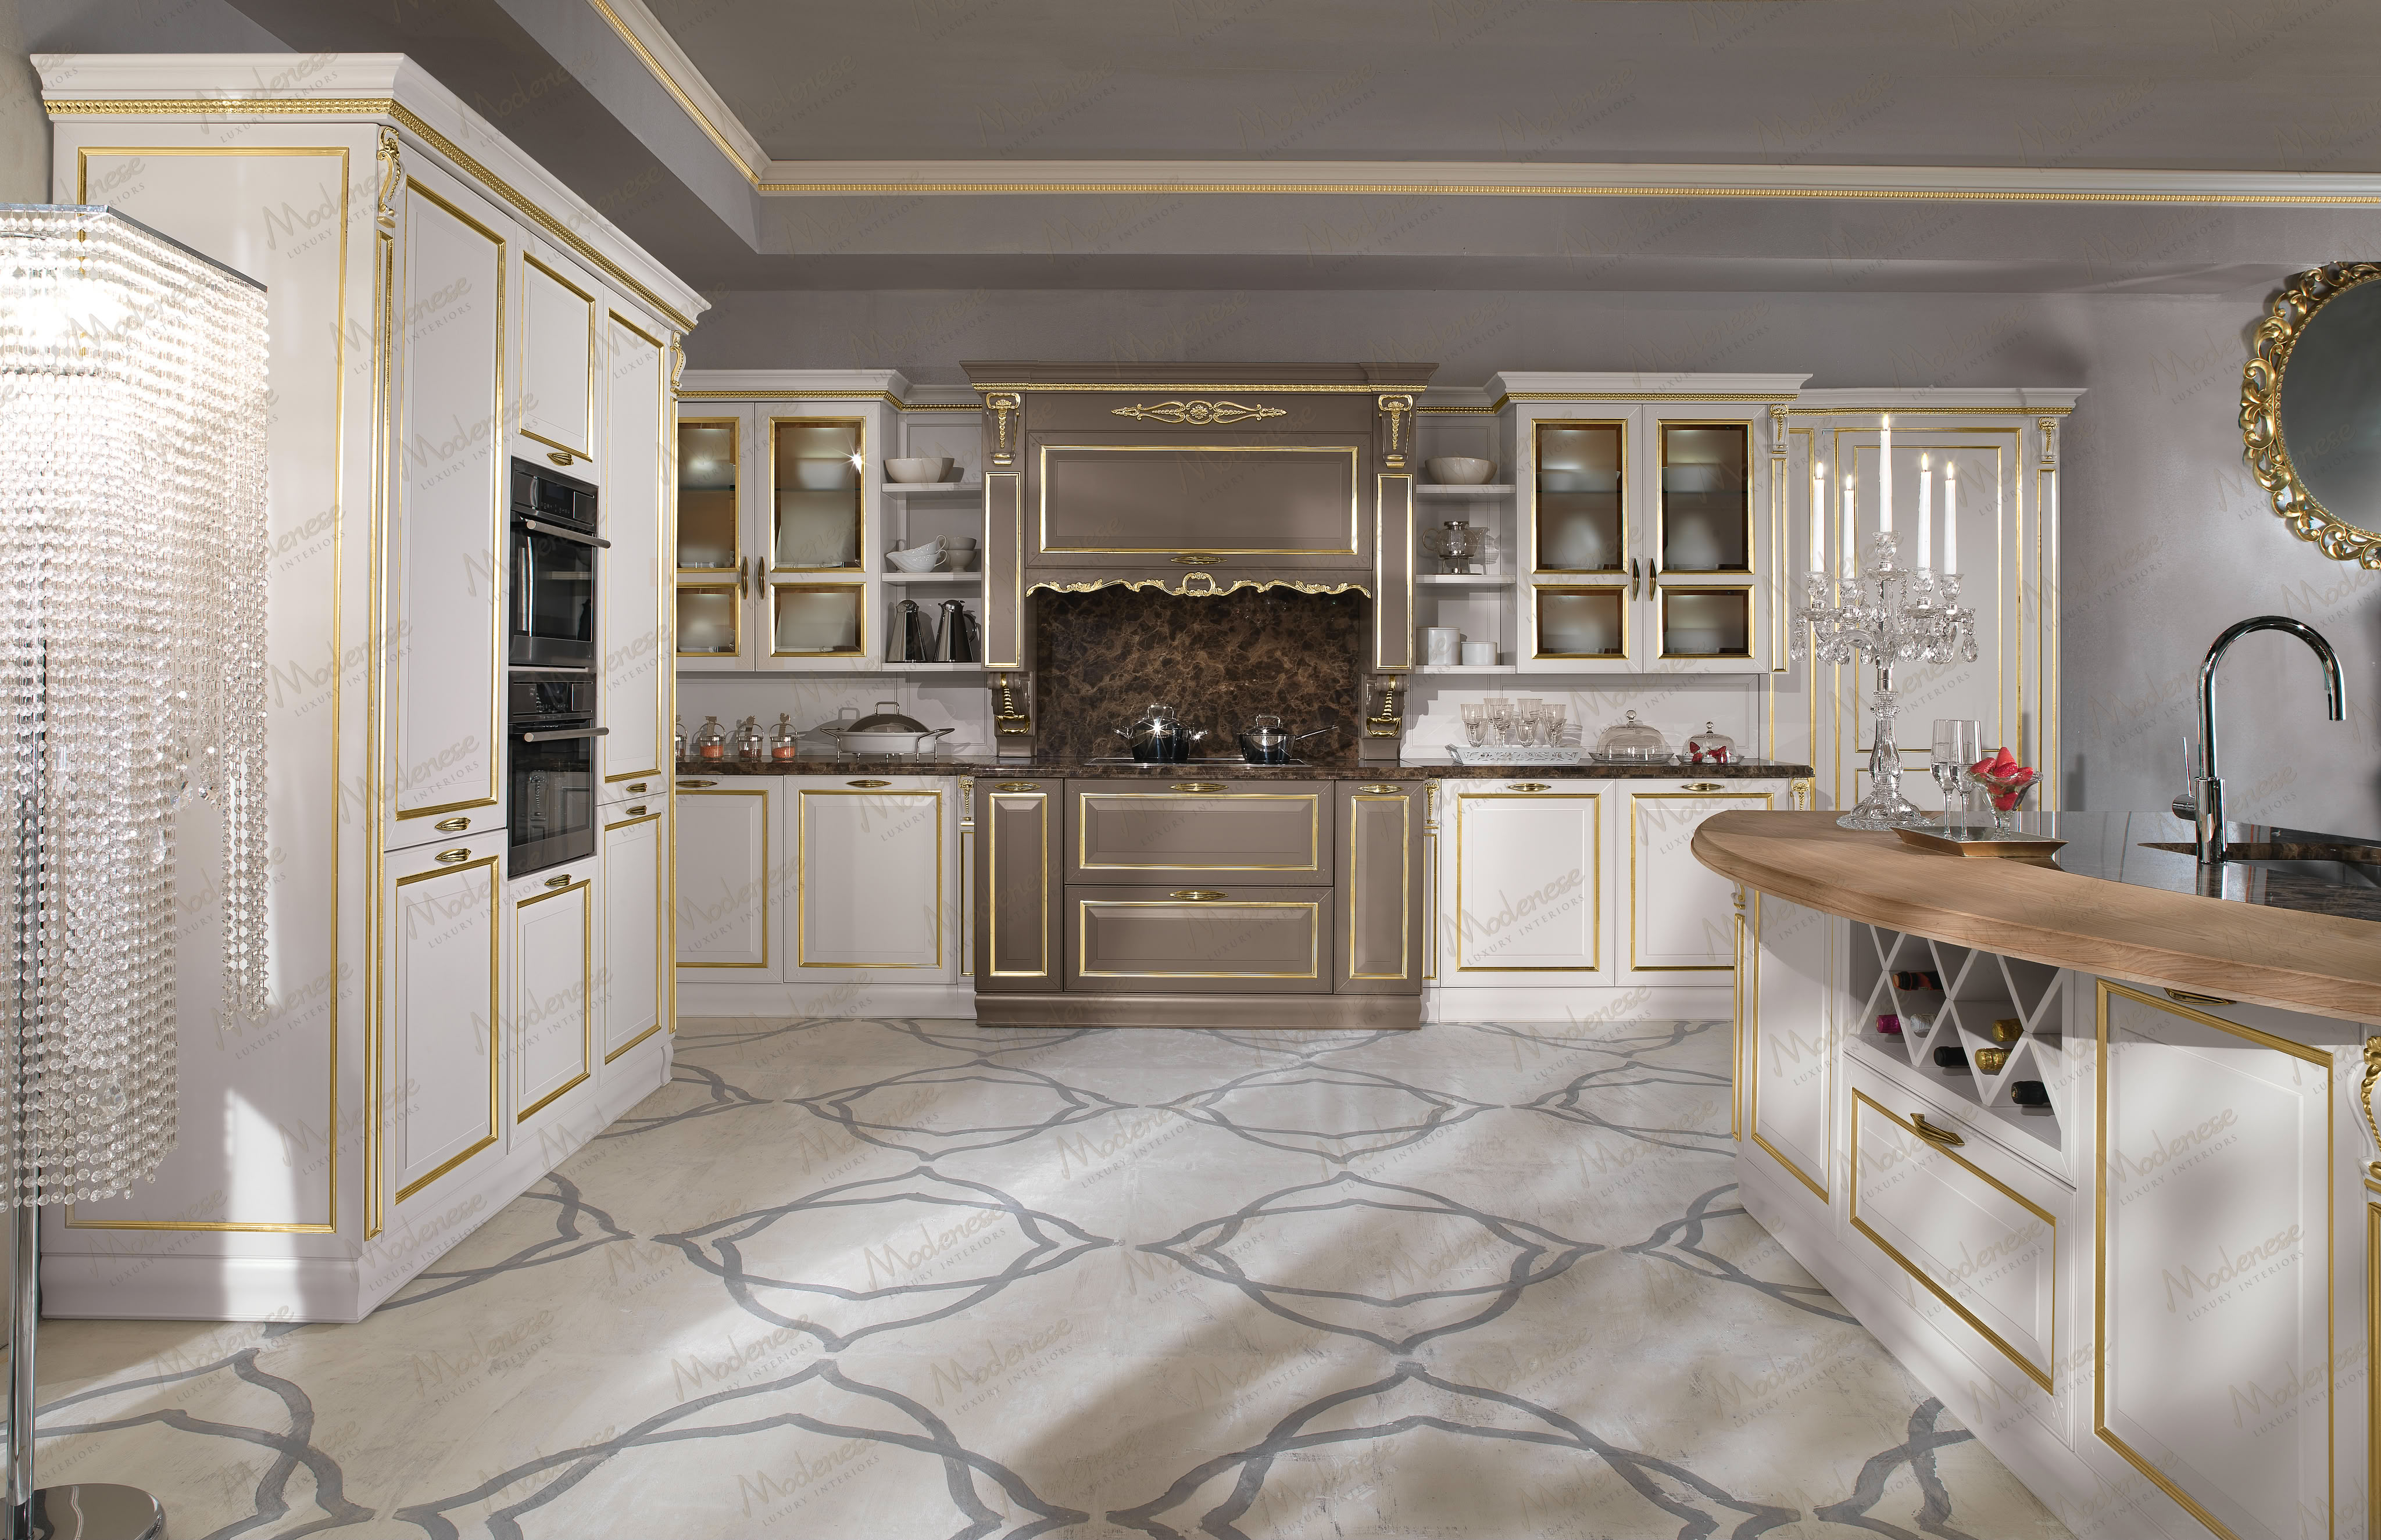
In the Contemporary collection, islands are frequently configured as the primary prep and cooking zone, with the sink and cooktop both on the island and the refrigerator and storage on the wall run. This layout works well in rooms wider than 4,500 mm, where the island can be positioned with adequate clearance on all four sides. In narrower rooms, a peninsula (island attached to one wall) often provides better workflow with the same functional capacity.
Structural Requirements for Stone Countertop Support
Natural stone and engineered stone countertops on islands present structural challenges that wall-mounted cabinets do not face. A wall cabinet run transfers countertop weight directly into the wall structure through the cabinet backs and mounting brackets. An island, by contrast, is freestanding, and any cantilevered overhang (for bar seating, for example) creates a moment force that the cabinet structure must resist without tipping or deflection.
Weight Calculations
A 30 mm thick slab of Calacatta marble weighs approximately 81 kg per square metre. A typical island countertop measuring 2,400 mm x 1,000 mm therefore weighs من نحن 194 kg. Add a 400 mm overhang on one side for bar seating, and the total slab area increases to 2,400 x 1,400 mm (approximately 272 kg). The cantilevered section alone weighs roughly 78 kg and creates a tipping moment that must be counterbalanced by the cabinet structure and, where necessary, by hidden steel support brackets.
Granite is denser: the same slab dimensions in Absolute Black granite would weigh approximately 220 kg for the base and 88 kg for the overhang. Engineered quartz (Silestone, Caesarstone, Dekton) falls between the two at approximately 72-76 kg per square metre for 30 mm thickness, making it slightly lighter than marble but with superior flexural strength — typically 40-50 MPa versus 12-18 MPa for natural marble. This higher flexural strength allows longer unsupported spans and thinner support structures.
Support Structures
For overhangs exceeding 300 mm, concealed steel L-brackets (minimum 6 mm thick flat bar, extending at least two-thirds of the overhang depth back into the cabinet structure) are required at 400-600 mm centres. These brackets must be bolted through the cabinet side panels or a continuous stretcher rail — screwing into particleboard or even plywood alone will not provide adequate pull-out resistance over time.
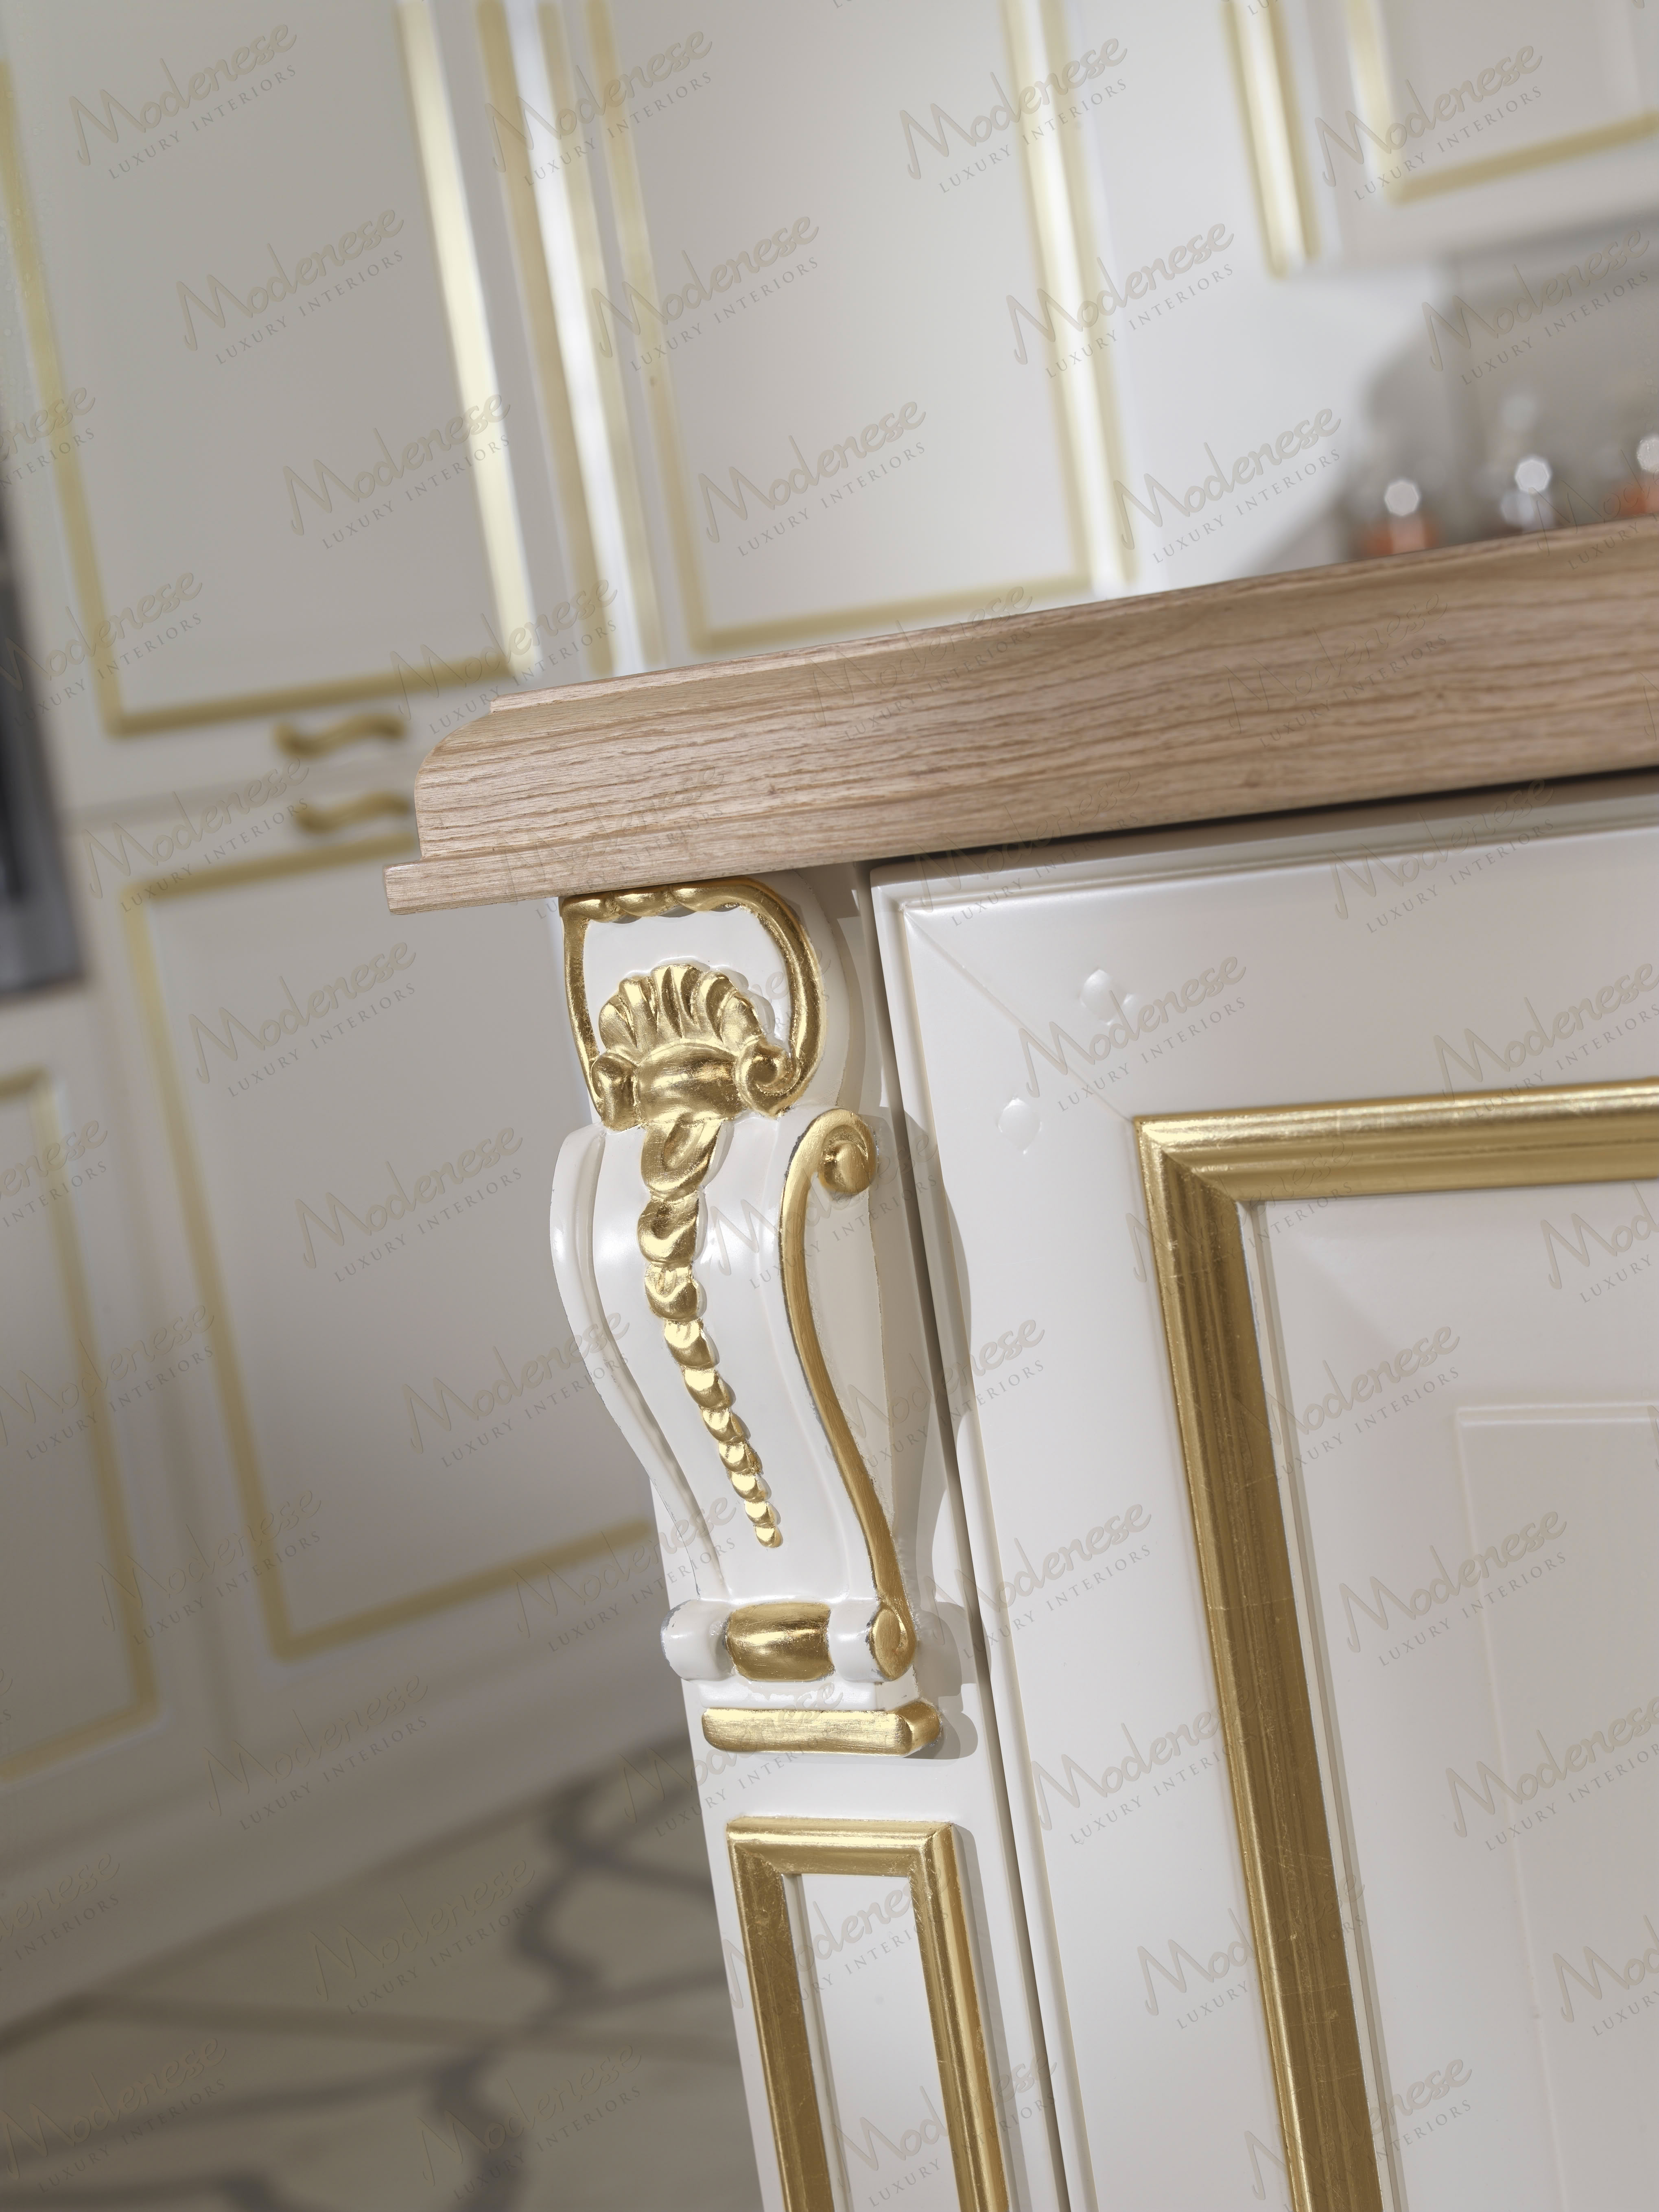
Modenese island cabinets use a welded steel subframe beneath the countertop, independent of the wooden cabinet structure. This frame (typically 40 x 40 mm square tube, 2 mm wall thickness) distributes the stone weight evenly across the cabinet footprint and provides rigid mounting points for overhang brackets. The wooden cabinet panels are then fastened to this frame, maintaining the visual appearance of fine cabinetry while the structural work is handled by the steel.
Integrated Plumbing and Drainage for Island Sinks
Running water supply and drainage to an island requires floor penetrations that must be planned before the slab is poured or, in renovation projects, core-drilled through existing concrete. The standard approach routes 15 mm (1/2 inch) hot and cold supply lines and a 40-50 mm waste pipe through the floor slab, emerging inside the island cabinet footprint.
The critical constraint is drainage fall. A kitchen waste pipe requires a minimum gradient of 1:40 (25 mm drop per metre of horizontal run) to prevent standing water and blockages. If the island is positioned 3 metres from the main drain stack, the waste pipe at the island must be at least 75 mm higher than at the stack connection — which means the floor void or slab depth must accommodate this. In slab-on-grade construction with limited floor depth, this often dictates island position: the closer to the drain stack, the easier the plumbing.
For islands with dishwashers, the drainage requirements increase. The dishwasher pump can push waste water against gravity for approximately 1,000 mm of vertical rise, but the connecting pipework still needs to fall towards the main stack once past the high loop. An air admittance valve (AAV) installed within the island cabinet prevents vacuum lock in the waste pipe — without it, a draining sink can siphon water from the dishwasher trap.
Ventilation Solutions for Island Cooktops
Extracting cooking fumes from an island cooktop is the single most technically demanding aspect of island kitchen design. Wall-mounted cooktops benefit from a wall behind them that channels rising fumes into a hood. Island cooktops sit in open space, where air currents from windows, HVAC systems, and foot traffic disperse cooking fumes in unpredictable patterns.
Ceiling-Mounted Island Hoods
A ceiling-mounted hood (sometimes called a T-shaped or box hood) positioned directly above the island cooktop is the most effective extraction method. The hood should overhang the cooktop by at least 50 mm on all sides and be mounted with the bottom edge 650-750 mm above the cooking surface (gas) or 550-650 mm (induction/electric). The extraction rate should be calculated at a minimum of 10-12 air changes per hour for the kitchen volume, with most island hoods requiring 600-900 cubic metres per hour capacity.
Ductwork from a ceiling-mounted hood runs through the ceiling void to an external wall. The duct run should be as short and straight as possible — every 90-degree bend adds the equivalent of approximately 1.5 metres of straight duct in terms of airflow resistance. A 150 mm diameter duct is the minimum for island hoods; 200 mm is preferred for extraction rates above 700 m3/h.
Downdraft Extractors
Where ceiling height, architectural design, or sightline requirements rule out an overhead hood, downdraft extractors offer an alternative. These units mount flush with the countertop behind or between the burners and rise 300-400 mm when activated. They pull cooking fumes downward and exhaust through ductwork routed through the island cabinet and floor.
Downdraft extractors are less effective than overhead hoods at capturing steam and lightweight fumes that naturally rise. They work best with induction cooktops (which produce less radiant heat and therefore less aggressive thermal updraft) and with low-profile cooking — simmering, sauteing. Tall pots and wok cooking can overwhelm a downdraft system. Extraction rates for downdraft units typically range from 400-650 m3/h, which is adequate for induction but marginal for high-output gas burners.
Electrical Planning for Island Installations
Electrical supply to a kitchen island requires floor-routed circuits that, like plumbing, must be planned during construction or carefully routed during renovation. The electrical requirements break down into three categories: cooking appliances, convenience outlets, and lighting.
An induction cooktop requires a dedicated circuit — typically 7.2-7.4 kW for a four-zone unit, requiring a 32-amp single-phase supply (in 230V European systems) or equivalent three-phase connection for larger units. This circuit runs independently from the island outlet circuits and must include appropriate overcurrent protection at the distribution board.
Convenience outlets on an island (for small appliances, phone charging, or food processors) face a design challenge: where to place them without compromising the clean visual lines of the island. The most common solutions include pop-up outlet towers that recess flush into the countertop when not in use, outlets mounted in the vertical face of the island end panels (code-compliant in most jurisdictions provided they are at least 150 mm above finished floor level), and outlets integrated into the island apron or waterfall panel.
Electrical code requirements vary significantly by الدولة. In Italy (CEI 64-8), kitchen circuits must be protected by 30 mA RCD (residual current devices) and outlets near water sources must maintain specific clearance zones. UK regulations (BS 7671) require similar RCD protection. US NEC code requires GFCI protection for all kitchen outlets and specifies that no point along the kitchen countertop should be more than 600 mm from an outlet — a requirement that specifically applies to islands with countertop areas exceeding certain thresholds.
Material Pairing: Countertop and Cabinet Finish Combinations
The visual success of an island kitchen depends on the interplay between the countertop material and the cabinet finish. This is not purely aesthetic — different stone and wood combinations also have practical implications for maintenance, durability, and aging characteristics.
Marble Countertops with Wood Cabinets
Calacatta and Statuario marble pair well with medium-toned woods (walnut, aged oak) where the warmth of the wood offsets the cool grey veining of the marble. With the Traditional Chic collection in stained oak, marble creates a material contrast that reads as intentional rather than arbitrary. The practical concern with marble on islands is etching: acidic liquids (lemon juice, wine, vinegar) will etch polished marble within seconds. A honed finish is more forgiving, as etching is less visible against the matte surface.
Granite Countertops with Lacquered Cabinets
Dark granites (Nero Assoluto, Black Galaxy) pair effectively with light-coloured lacquered cabinets in cream, dove grey, or soft white. The high contrast defines the island as a distinct element within the kitchen. Granite is significantly more resistant to etching and scratching than marble, making it the better choice for high-traffic islands that serve as both prep surface and casual dining area.
Engineered Stone with Mixed Finishes
Engineered quartz (Silestone, Caesarstone) and ultra-compact surfaces (Dekton, Neolith) offer the widest range of colour and pattern options with the highest practical durability. They do not require sealing, resist etching, and maintain a consistent appearance over decades. In the Eclectic collection, engineered stone allows the cabinet finishes to carry the visual weight while the countertop provides a neutral, high-performance work surface.
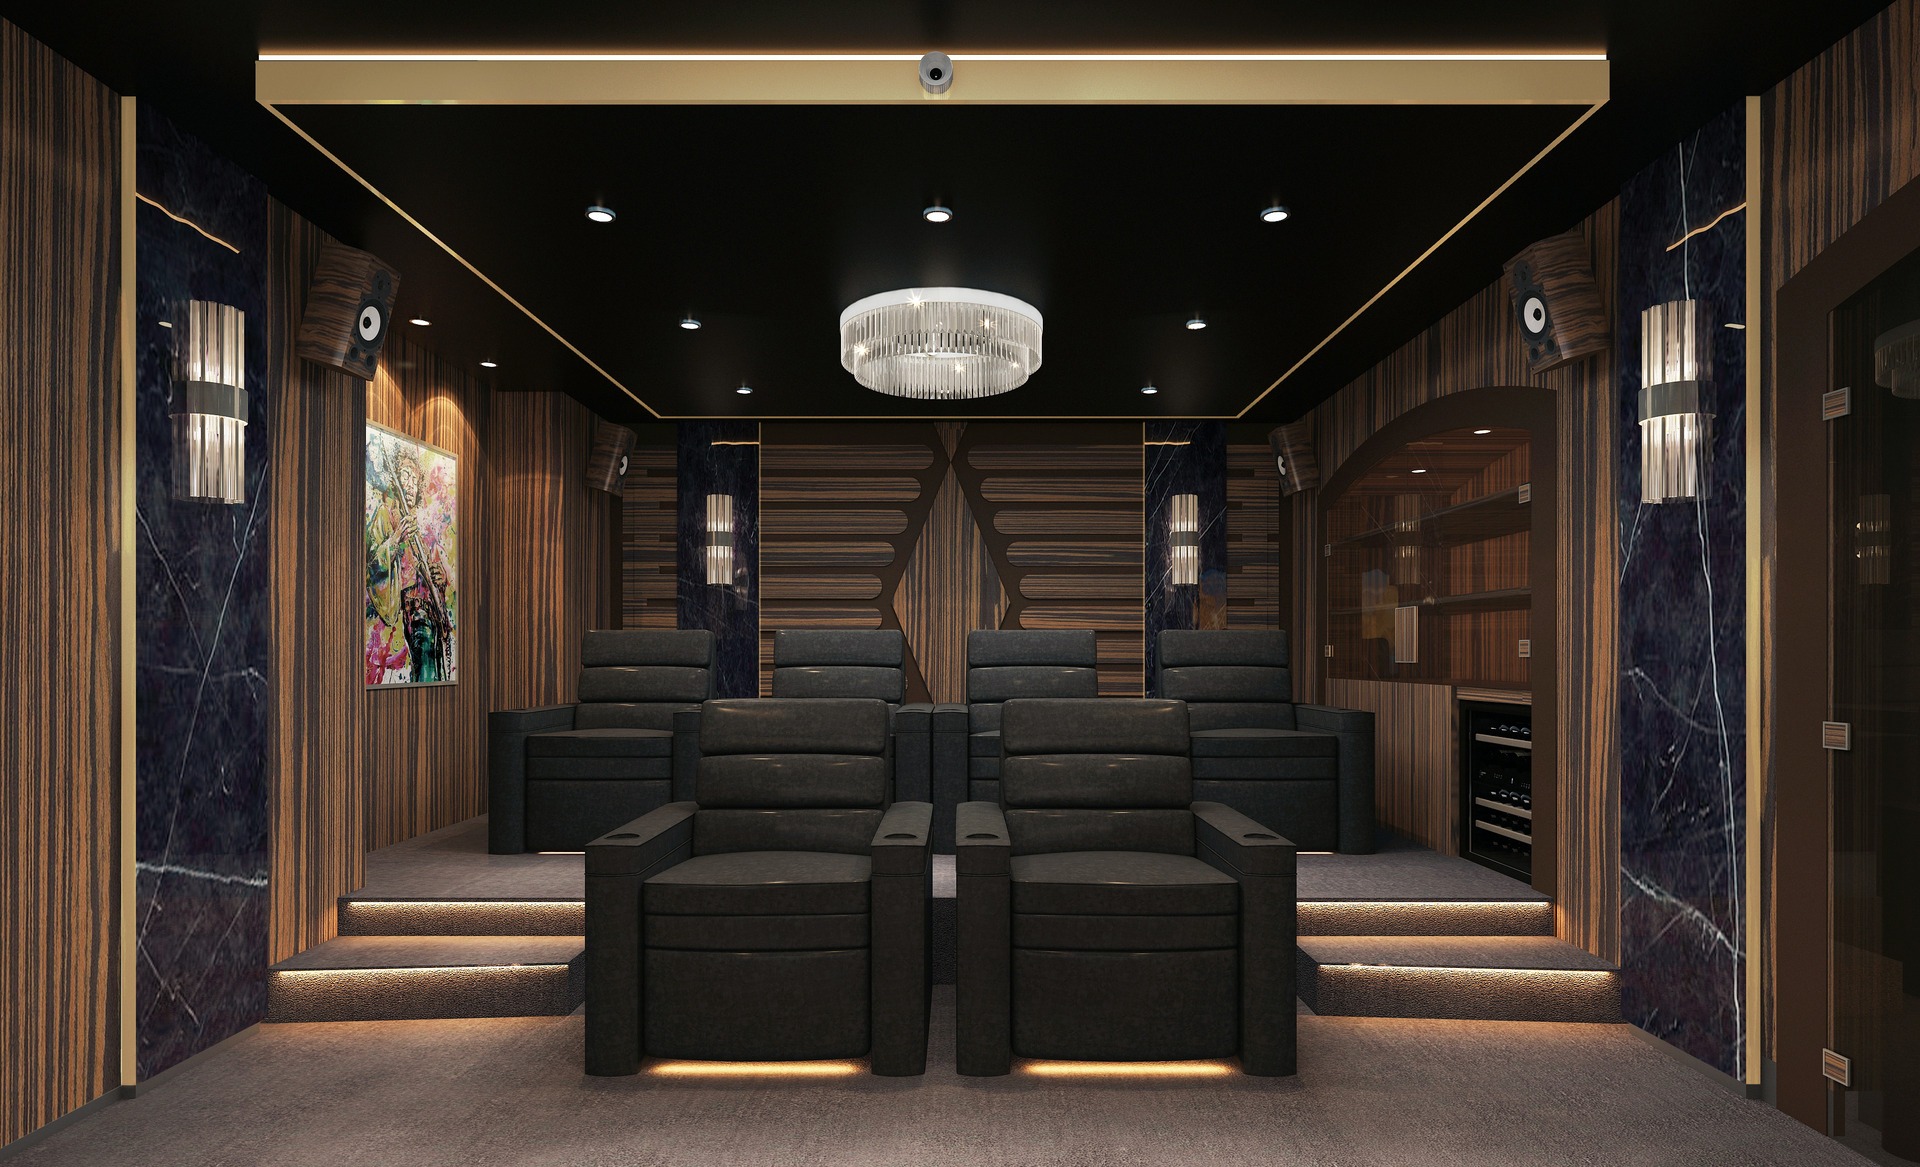
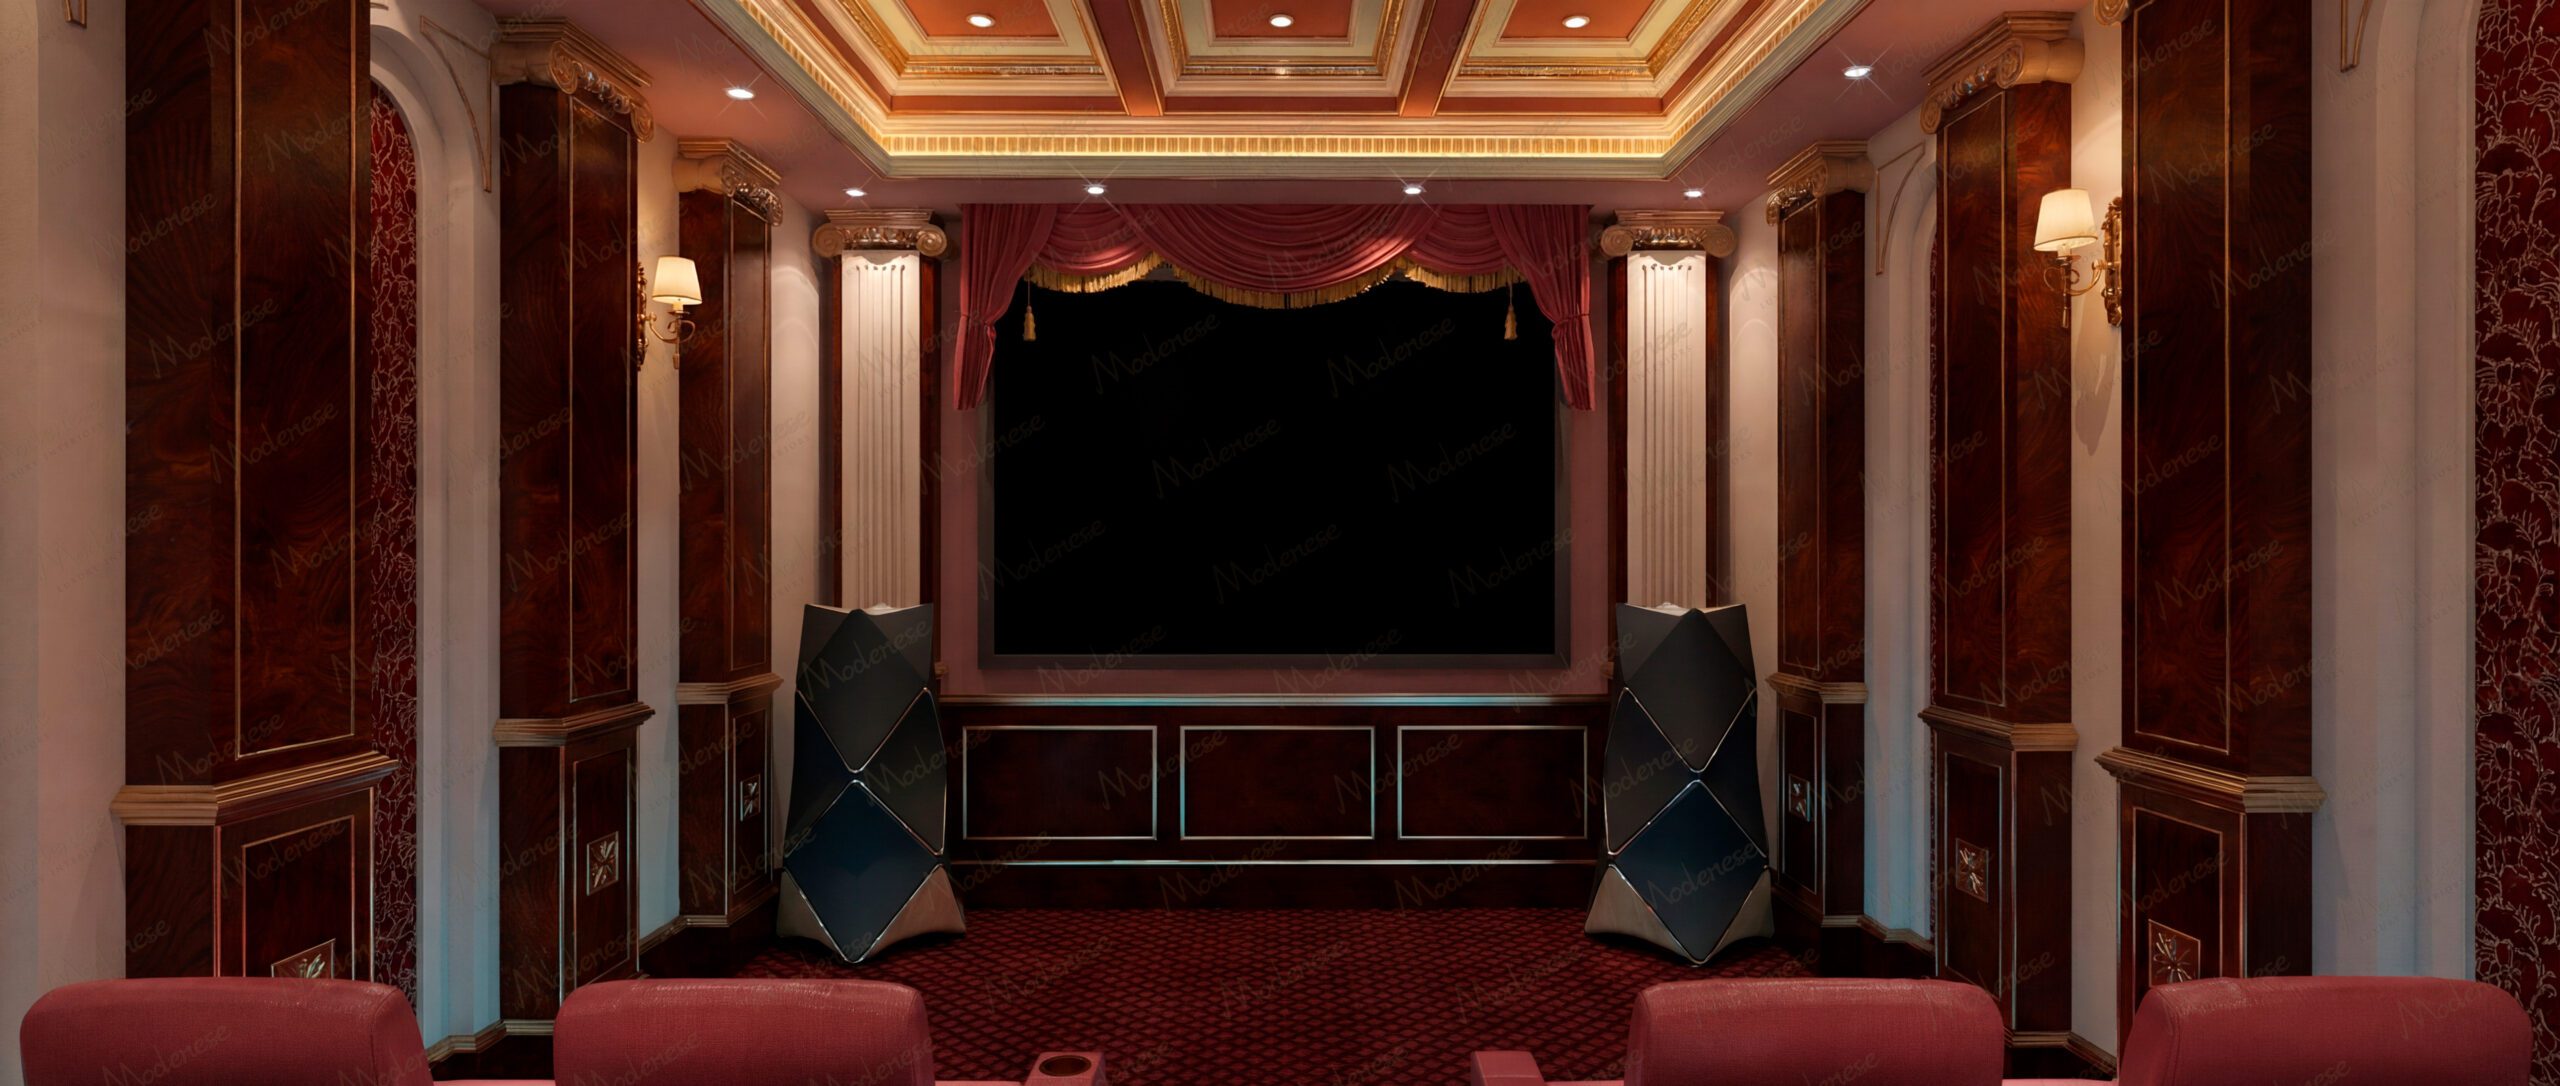
When specifying island kitchens for residential projects, the structural, mechanical, and electrical decisions made early in the design process determine the long-term success of the installation. The solid wood construction principles that underpin all Modenese cabinetry become especially important in island applications, where the cabinet structure must perform as both furniture and load-bearing frame. The same attention to integrated services applies to Modenese walk-in closet installations, where material selection and home cinema projects requiring precise spatial planning follow identical design coordination principles. Learn more من نحن the fabrication process on the carpentry page and استكشف the full kitchen range in the Luxury Classic and Royal collections.